Happy New Year Buddies!

Happy New Year!

 Dear Buddies!

I am very happy to see you all charged to march ahead to new heights in this year. I am quite amazed with the number of new bloggers popping up everyday and the wonderful events getting more interesting with new challenges . Hmm… got to catch up a lot of things after a long gap. Anyway “A very happy n flavourful new year for every charming angel out there.” Ciao n Take care!

Jyothi Pindi

Jyothi Pindi/ Maa Vilakku

I was wondering what I could contribute to JFI hosted by Santhi focusing on Flour this month. Thanks to Anupama for posting about the Marathi tradition of cooking Puran during the month of Shravan as it reminded me of this South Indian traditional recipe that is done during many festivals and family traditions.

This is my mom’s recipe for the Jyothi Pindi…

Ingredients:

Roasted Chana Dal/Dalia finely powdered and sifted – 200 grams

Rice flour – 100 grams

Jaggery (grated) – 100 grams

Home-made Ghee – 100 grams

Cardamom powder – 1/4 tsp

Pumpkin seeds (coarsely crushed) – 1 tsp

Cashew nuts (finely chopped) – 1 tsp

Method:

1. Dissolve the grated jaggery in 100 ml of water and strain to remove dirt and dust particles. Simmer the jaggery water till it starts boiling and remove from heat.

2. Now pour half amount of ghee and stir in both dalia flour and rice flour alternatively in small quantities.

3.Finally mix in the remaining ghee,cardamom powder and pumpkin seeds and incorporate them into the jaggery flour mixture to form soft dough.

This step takes some patience but it’s worth it 🙂

The dalia flour gives the soft silky texture whereas rice flour gives the strength and hardness to the jyothi so you can adjust the texture of the dough by adding little amount of either of the flour to get the texture you prefer. But take care that you don’t add too much of it and lose the ratio balance.

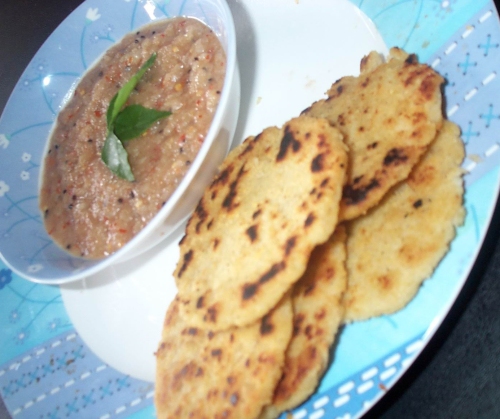
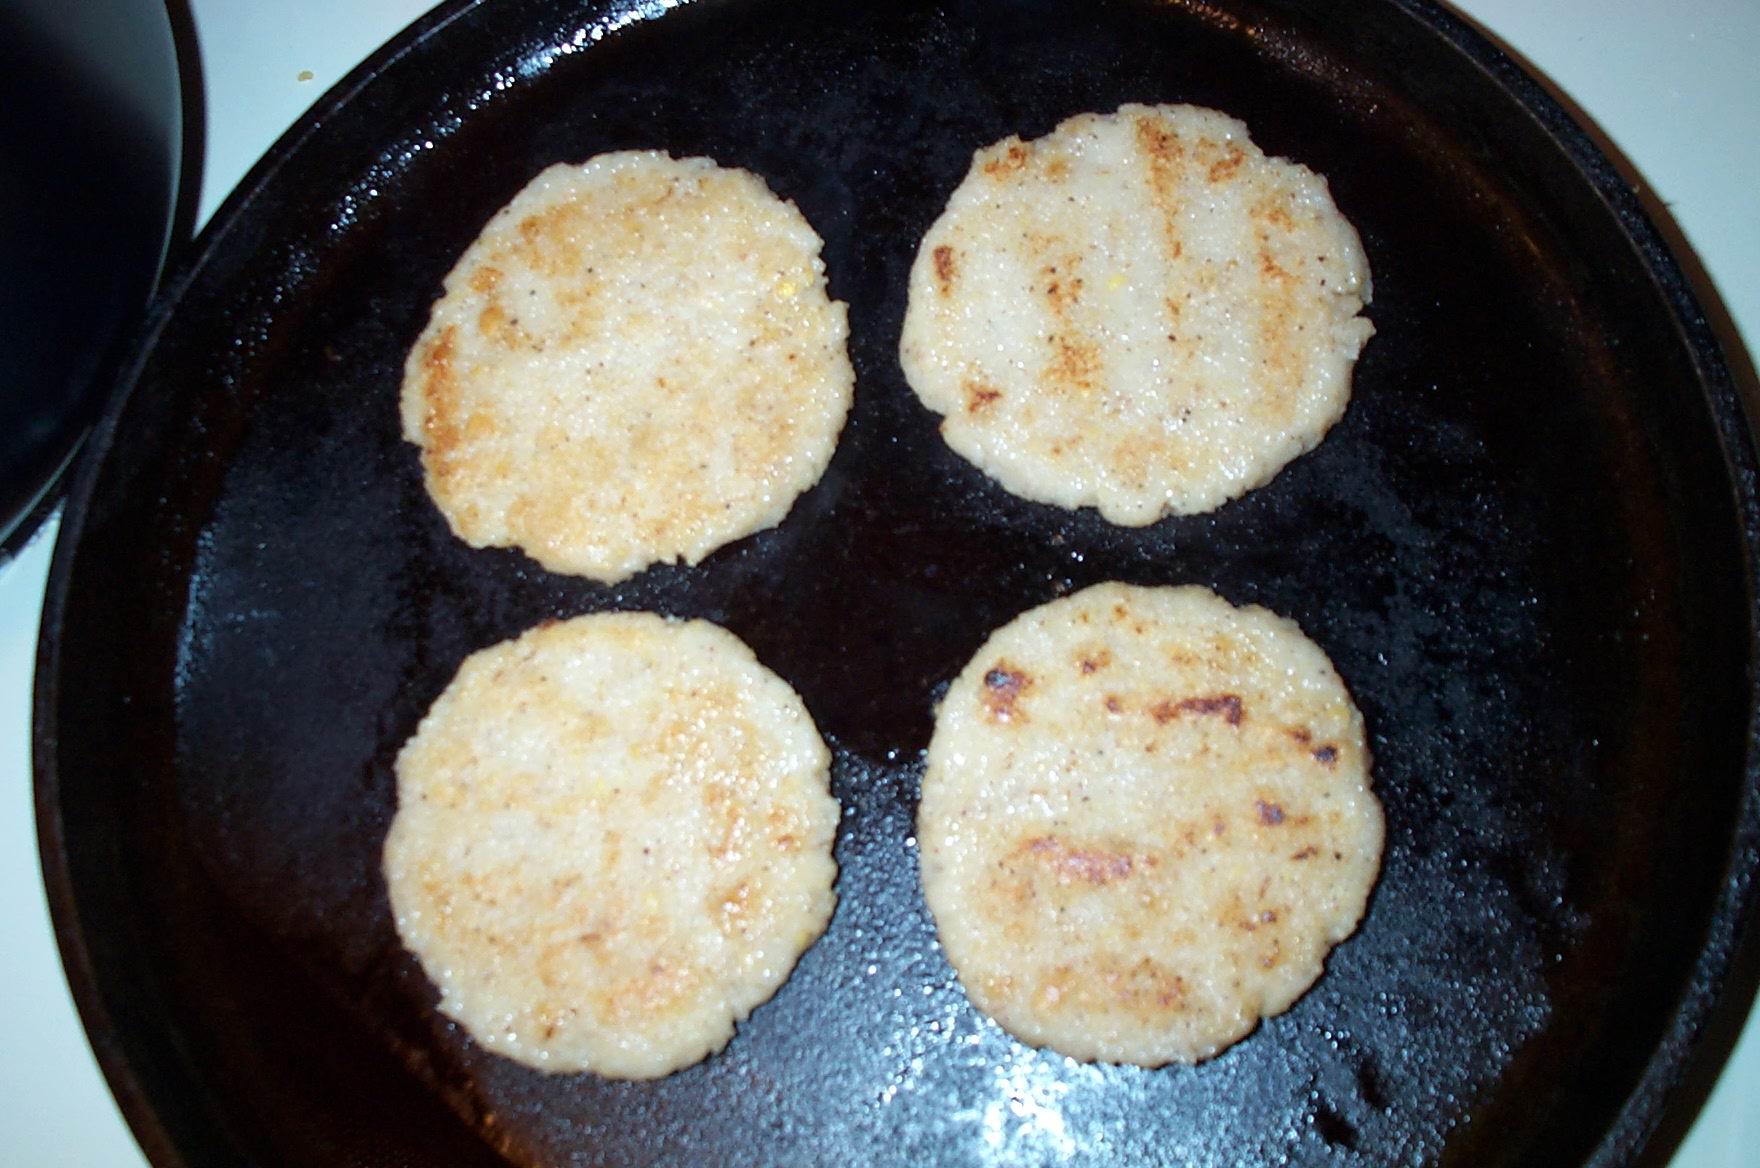
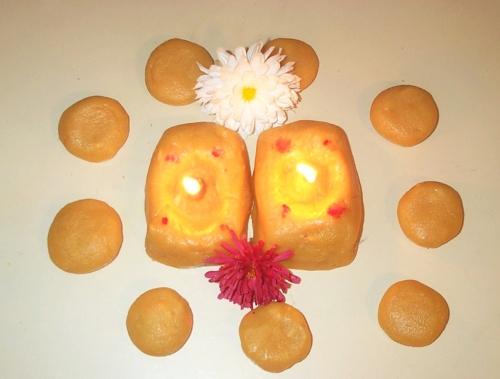
4. Now you’re all set to make jyothis out of the dough. The dough will be very pliable and forgiving if you have got the right texture. You can either make rectangular ones as seen in the picture or small diyas like Anupama. Once you have given the basic shape make a small dent to accommodate ghee for the wick. Soak the cotton wick in the ghee for 10 min and then light them for better and even glow. 🙂

The entire process is rewarded during the lighting of the Jyothi when the brightness of it spreads rays of happiness and joy in everyone.

Served with a dollop of ghee and love… It’s just a piece of heaven.

Curry Leaves Dosa

curry leaves dosa

Reading the contributions from the fellow Indian bloggers about spices from Mythili’sMistress of Spices” I was amazed to know so many things and started appreciating the value of spices in the quality of our everyday food and life. No wonder Ayurveda also celebrates the importance of spices and their combinations that balances our taste palette with different flavour and aroma in a healthy way. In my attempt to explore the precious spices and a recipe for Nandita’s Weekend Breakfast blog event, the first thing that flashed my memory is the curry leaves dosa my mom used to prepare. Right from the moment you start preparing the batter you could smell the sweet aroma of the curry leaves, which will linger in your mind throughout the day.

This dosa with the fresh young tender curry leaves bursts with full of flavour and aroma. Unlike other dosas this can be relished immediately after grinding.

Ingredients:

Raw Rice – 1 cup

Parboiled Rice – 1 cup

Preferably young tender Curry Leaves – 1 cup (Can be increased up to 2 cups depending upon the intensity of curry leaves flavour you like)

Red chillies – 6

Black peppercorns – ½ tsp

Salt as per taste.


Method:batter

Step 1:

Wash and soak rice together for 2-3 hrs in luke warm H2O.

Grind together with young curry leaves, red chillies and black

peppercorns to dosa batter consistency.


Step 2:dosa

Mix salt and pour like rava dosa starting from outside towards the center.

A dosa pan with curved bottom will be more convenient.

Flip over and fry till both the sides are done.

You can gobble up this green dosa with spicy red molagapodi or coconut chutney.

Note: My mom suggests fermenting, for softer and tastier dosa 🙂

For medicinal values of the curry leaves and general information check out Sumitha’s article for Mistress of Spices event..

And if you are more interested and want to go a step further and grow your own curry leaf plant ..check out Indira’s article on this deciduous plant and tips to grow them.


Mint n Lemon Squash

Mint n Lemon Squash

Squash (sometimes called cordial) is a concentrated, often fruit-based, syrup to which water is added. It is also the name of the resulting drink.

It is common in the United Kingdom and Ireland, especially among toddlers and young children. Typically, squash is created by mixing one part syrup with four or five parts water (depending on concentration of the syrup and personal taste), directly into a glass or mug or into a jug. The most common flavours are: orange; apple and blackcurrant; lemon and lime. Other flavours include peach, strawberry, kiwi fruit and fruits of the forest.

In the West Indies the name “squash” is used to describe a lime juice drink, similar to lemonade.(source:wikipedia)

This squash is quite unique as it uses mint and its unique in its taste too…

Recipe:

Ingredients:

Mint (cleaned,washed and dryed ) – 4 cups

Sugar – 2 cups

Water – 1 cup

Lemon – 2 or 3

Method:

Clean the mint leaves wash and pat them dry thoroughly with paper towel.

Meanwhile heat the sugar and water to form sugar syrup of sticky consistency.

Now add in the chopped (i tore them with hands) mint leaves over the hot syrup. Leave them to cool for about 3-4 hrs till all the mint flavour is infused in the syrup.

Stir in the lemon juice to this syrup and press the leaves with a wooden ladle just to ensure it infuses all its essence to the syrup.

Strain the juice into clean dry bottle and refrigerate.

Serving suggestion:

Mix one part of the syrup with five parts of water/soda water and serve chilled with a lemon slice and quench your thirst.

I am gonna travel to Germany and join Meeta’s Monthly Mingle and “Beat the Heat” with this squash.See you all there friends!

Protein Packed Sundal Pickle

sundal rangoli
My SH likes sundal in any form. So I learnt this recipe from my grandma to have a special place in his heart. Hope you guys also will have post-engagement-pre-wedding period experiences of learning something to have that ‘special’ attention. Hope i would hear lots of experiences and everyone will have a re-cap of those wonderful special times …So before you guys go to dream about it, let me finish telling the recipe…or Never mind..Relish those moments and come back to have a look at what I learnt..

Check your pantry if you have all these sundal varieties..

Large Lima Beans

Small Red Beans

Canary Beans

Chick Peas both White and Black varieties

Yellow-eye Beans

Cranberry Beans

This is what i had in my pantry

but u need not stop if you have Green Peas, Peanuts…go ahead

1. Now measure 1/2 cup of all the varieties you have wash them and soak them overnight in lots of drinking Water.

Beans soaked overnight
Then check if you have got nice big fresh lemons say about 6…(Number can vary as per size of the lemon and as per your taste) Chilli powder,Salt,Vegetable oil, Green chillies… that’s it.

2. Steam all the drained beans till they are just soft. Take care that they are not overcooked. U can stop at a point when the sundal has lost its raw smell.

3. In a sufficiently big pan heat 1/4 cup of oil and toss all the steamed beans and slit green chillies (about 4) till everything is covered with a shiny coat of oil.

4. Add salt (about 2 Tbsp),chilli powder (about 3 Tbsp) and lemon juice (about half a cup) and toss well without collapsing the shape of the sundal. (You can scale up or down as per quantity and taste.)

Pickle
Gently toss the pickle once in two days till it absorbs all the juice and ready to relish.

U’re all set to spice up the curd rice…Upma and for anything that you need a kick….
Refrigerate this pickle in an air-tight container and enjoy it upto a month. Hope this would be a healthy version for all those pickle-lovers.

Rice and Toor Dal Patties

This our family’s favourite -Surprise the “surpriser” recipe.This recipe is very handy when we need to do something, when we’re out of supply of the produce, still has to serve the unexpected guests and impress them.So we always have the rice and dal combo powder in storage.Ok guys i could read your mind …. Here, the recipe is all yours now.

Rice – 1 cup

Toor dal -1/4 cup

Cumin seeds -1 tsp

Black Pepper – 1 tsp
Powder the rice and dal together to fine rava consistency. Powder the Cumin seeds and Black Pepper seperately and add it to the rice dal combo.So this is the basic powder you need for the patties.This powder can be stored in an airtight container for months.

patties n onion chutney

To make patties:

rice & dhal combo rava -1 cup

water – 2 cups

oil – 1 tsp

salt – 1 tsp

Method:

Boil the water with salt and oildough

Add the rice dal combo powder constantly stirring to avoid lumps

Continue stirring till the water is completely absorbed and resemble dough like consistency.

Once the dough is ready,divide into equal sized balls and make patties.

patties

Fry them in pan and serve hot with onion chutney.

Recipe for Onion chutney:

White Onions – 3 (Avoid red onions as they turn bitter when blended and sauteed)

Dry Red chillies – 6

Tamarind juice – 1 Tbsp

Salt – as per taste

Jaggery – a small piece

Hing – a pinch

Curry leaves – a few

Blend all the above ingredients except curry leaves

Crackle mustard seeds in a tsp of oil, add curry leaves and pour the above blended mixture and saute till the raw smell goes.

Enjoy and let me know how you liked it.

I would like to contribute this recipe for

Paz’s –” FMR -For The Love Of Rice” and
Sailu’s Jihva for Dal

Methi Ginger Roti

My first experiment with container gardening started with basil, mint, corriander and methi.Among these I loved methi the most as it was very fast growing and beautiful in the small container.This sunday in my curiosity to try this recipe I had to bid farewell to my magnificient methi.

roti

So here goes the recipe for the flavourful healthy low calorie roti…….

wheat flour – 1.5 cups

rice flour – 3/4 cup

fine rawa – 1/2

roasted gram flour -1 tbsp

finely chopped onions – 1/2 cup

chopped methi leaves – 1/2 cup

green chilli paste – 1 tsp

strained ginger juice from 1/4 inch piece

salt – 2.5 tsp

Mix all the dry ingredients with 1 Tbsp of oil.Add the ginger juice and knead to stiff dough with just enough water.Divide the dough into small balls and make rotis.

Enjoy it with corriander/mint chutney.

This is a recipe by Mrs.Mallika Badrinath

Hello friends!

After a while of enjoying many blogs,i felt that it would be good to have one where i could write and share my recipes,thoughts etc., and have a rewarding experience of fellow bloggers suggestions,comments.Hmm altogether i am excited guys.